 Português
 Русский
 Español
 Francés
 ไทย
ไทย
 Bahasa Indonesia
 Việt
Việt
 Türk
Türk
 Melayu
 العربية

The right steps to clean and sanitize powder equipment
The cleaning and sanitizing of large powder equipment in a factory is of paramount importance, and is directly related to product quality, production safety and the service life of the equipment. The standardized cleaning and disinfection steps are the key to reach this goal.
The first step is preparation. Before the start of cleaning and disinfection, we must ensure that the equipment is completely stopped, and cut off all power supplies, hanging “no closing” warning signs to prevent accidental startup. At the same time, close the equipment related to the gas line, liquid line valves, to ensure that no pressure exists. In addition, according to the type of equipment, frequency of use and degree of contamination, a detailed cleaning and disinfection plan should be formulated, specifying the scope of cleaning and disinfection, methods, cleaning agents and disinfectants to be used, as well as the division of labor of the personnel involved. In order to ensure that the operation is standardized, the staff involved in cleaning and disinfection should be trained so that they are familiar with the structure of the equipment, the cleaning and disinfection process and safety precautions, and master the correct use of cleaning tools and disinfectants. Finally, prepare the required cleaning tools, such as high-pressure water guns, long-handled brushes, sponges, rags, scrapers, etc.; detergents and disinfectants, such as alkaline detergents, acidic detergents, chlorine disinfectants, quaternary ammonium disinfectants, etc.; protective gear, such as acid and alkali resistant gloves, goggles, masks, protective clothing, etc.; as well as water for cleaning, rinsing, and drying equipment, such as hot-air guns and blowers.
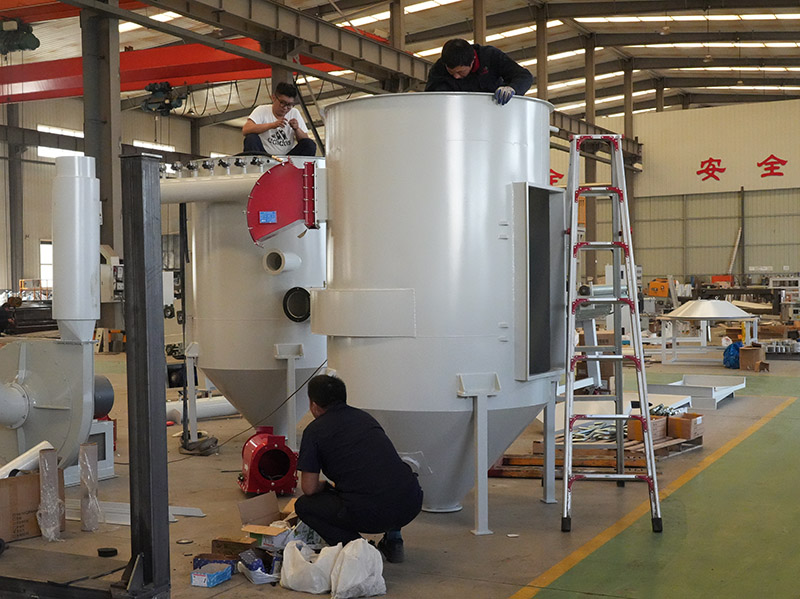
After completing the preparatory work, enter the disassembly and pre-cleaning session. According to the equipment manual, carefully disassemble the removable parts, such as inlet, outlet, stirring paddle, screen, pipe, valve, etc.. For some complicated parts, mark them well for subsequent correct assembly. Next, use a soft brush, compressed air or vacuum cleaner to clean the surface of the equipment and the residual powder inside initially. For tightly adhered powder, use a wooden or plastic scraper to carefully remove it, but avoid scratching the surface of the equipment. During the cleaning process, pay attention to collect the cleaned down powder to prevent secondary pollution.
Next is the cleaning step. First, put the disassembled parts into a special cleaning tank, add the appropriate amount of warm water and detergent, soak for a period of time, so that the dirt is fully softened. The soaking time depends on the severity of the dirt, usually 15 - 30 minutes. After soaking, use long-handled brushes, sponges and other tools to scrub the parts, focusing on cleaning the seams, corners and other parts that are easy to hide dirt. For the main part of the equipment, a high pressure water gun or spray system can be used for rinsing to ensure that powder and dirt are removed from all corners. Pay attention to the direction of the water flow when cleaning, to avoid secondary pollution caused by the backflow of sewage.
Once the cleaning is completed, the equipment should be sterilized. According to the material of the equipment and the use requirements, choose the appropriate disinfectant, such as chlorine disinfectant or quaternary ammonium salt disinfectant. Use a sprayer or rag to evenly spray or wipe the disinfectant on the surface and parts of the equipment to ensure that all parts can come into contact with the disinfectant. After disinfection, allow the disinfectant to act for a certain period of time, usually not less than 10 minutes, to ensure effective killing of bacteria and microorganisms .
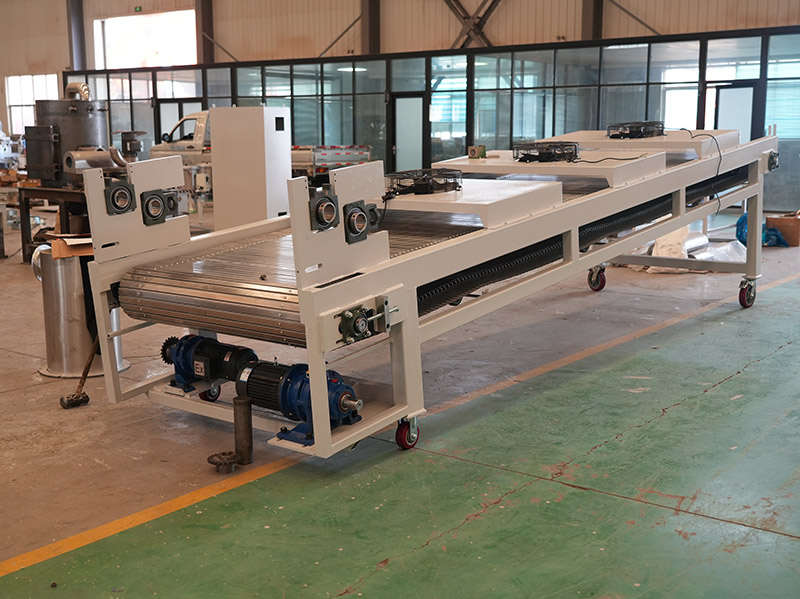
At the end of disinfection, the equipment should be thoroughly rinsed with clean water to remove any residual detergent and disinfectant. When rinsing, make sure that the water flow is sufficient, leaving no dead space. After rinsing, use natural drying or use hot air to ensure that the surface and interior of the equipment is completely dry to prevent the growth of mold. For some parts that are difficult to dry, you can use a hair dryer or hot air gun for localized drying.
Finally, it is the assembly and inspection part. After the equipment is dried, the disassembled parts are assembled in order according to the markings and instructions. During the assembly process, carefully check whether the connection of each part is tight and whether the seals are intact. After the assembly is completed, conduct a comprehensive inspection of the equipment to ensure that all parts are installed in place without looseness or omission. At the same time, carry out a simple test run to check whether the equipment is running normally and whether there is any abnormal sound or vibration.


